SSD Not Showing Up? Quick Fixes to Try
Solid-state drives (SSDs) offer fast storage for computers, but sometimes they don’t show up in Windows. This can be frustrating for users who expect to see their new drive ready for use. Common causes include incorrect installation, BIOS settings, or the need to initialize the drive in Windows.
Fixing an SSD that’s not showing up often involves simple steps. Users can check physical connections, update BIOS settings, or use Windows tools like Disk Management. These solutions work for both internal and external SSDs on Windows 10 and 11 systems.
If basic troubleshooting doesn’t work, more advanced fixes may be needed. These can include updating drivers, changing SATA modes, or using third-party disk partition tools. With the right approach, most SSD detection issues can be resolved quickly.
SSD Not Showing Up? Quick Fixes to Try
Common Reasons Why Your SSD Isn’t Detected
Solid State Drives (SSDs) offer faster performance than traditional Hard Disk Drives (HDDs). If your SSD isn’t showing up in Windows or your computer’s BIOS, it can be a frustrating problem. Here are some common reasons why this might happen:
- Loose Connections: The SATA data or power cables might not be properly connected.
- Faulty Cables: A damaged SATA data or power cable can prevent the SSD from being detected.
- Driver Issues: Outdated or corrupted storage controllers can cause problems.
- BIOS Settings: Incorrect BIOS settings can prevent the SSD from being recognized.
- Drive Letter Conflicts: If another drive has the same drive letter, the SSD might not show up in File Explorer.
- SSD Failure: In some cases, the SSD itself may have failed.
Quick Fixes to Try
Here are some quick fixes you can try first:
- Check the Cables: Make sure the SATA data and power cables are securely connected to both the SSD and the motherboard. Try unplugging and replugging them.
- Try Different Cables: If you have spare SATA data and power cables, try using them to rule out faulty cables.
- Try a Different SATA Port: Connect the SSD to a different SATA port on your motherboard.
Advanced Troubleshooting Methods
If the quick fixes don’t work, try these more advanced methods:
Check BIOS Settings
- Enter BIOS: Restart your computer and press the appropriate key to enter the BIOS setup (usually Del, F2, F10, or Esc). The key is usually shown on the boot screen.
- Check Boot Order: Make sure the SSD is listed in the boot order.
- Check SATA Configuration: Ensure the SATA controller is set to AHCI mode (Advanced Host Controller Interface). This is the standard mode for SSDs. Some older BIOS settings may have it set to IDE or RAID.
Use Disk Management
- Open Disk Management: Press Windows key + X and select “Disk Management.”
- Look for the SSD: See if the SSD is listed in Disk Management. If it is, it might not have a drive letter assigned.
- Assign a Drive Letter: Right-click on the SSD partition and select “Change Drive Letter and Paths.” Click “Add” and assign a drive letter.
- Initialize the Disk: If the disk shows as “Not Initialized,” right-click on it and select “Initialize Disk.” Choose GPT (GUID Partition Table) for modern systems.
Update Storage Controllers
- Device Manager: Open Device Manager (search for it in the Windows search bar).
- Expand Storage Controllers: Look for “Storage controllers” and expand it.
- Update Drivers: Right-click on each storage controller and select “Update driver.” Choose “Search automatically for drivers.”
Use Command Prompt (Diskpart) for Cleaning the Disk
If the SSD was previously used, it may have old partitions or formatting that is causing it not to be recognized properly. You can use Diskpart in the Command Prompt to clean the disk. Warning: This will erase all data on the drive.
- Open Command Prompt as Administrator: Search for “cmd” in the Windows search bar, right-click “Command Prompt,” and select “Run as administrator.”
- Type
diskpartand press Enter. - Type
list diskand press Enter. Note the disk number of your SSD. - Type
select disk #(replace # with the disk number) and press Enter. - Type
cleanand press Enter. This will erase all partitions and data on the disk. - Type
exittwice to exit Diskpart and Command Prompt. Then you can go back into Disk Management and initialize the disk as described above.
Testing the SSD in Another Computer
If none of these steps work, try testing the SSD in another computer. This will help you determine if the SSD itself is faulty.
Data Recovery Options
If you suspect the SSD has failed and you have important data on it, you may need to seek professional data recovery services.
Checking for M.2 Compatibility
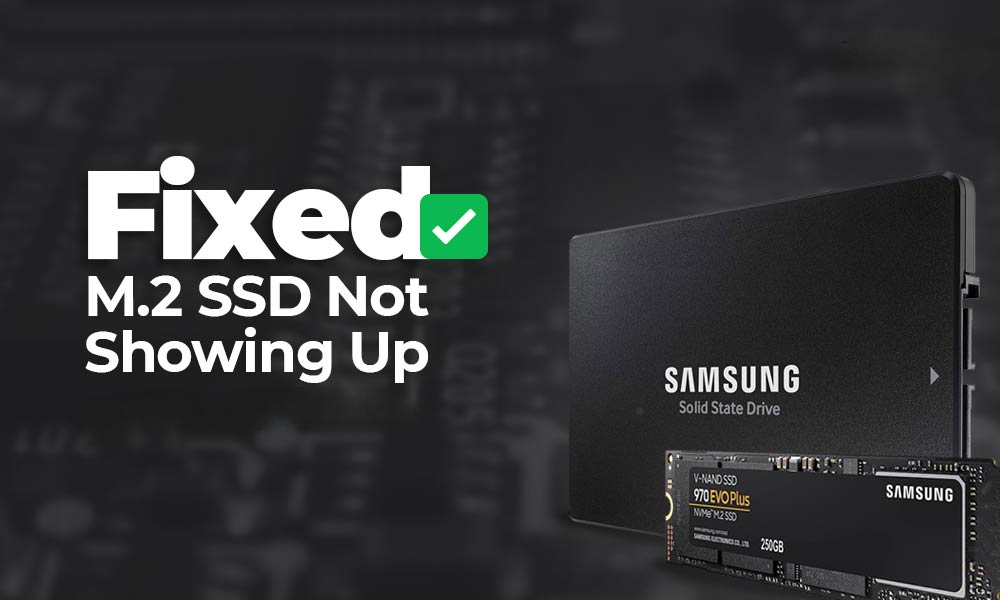
If you’re using an M.2 SSD, ensure your motherboard has an M.2 slot and that the slot supports the type of M.2 SSD you have (NVMe or SATA). Some motherboards have M.2 slots that only support one type.
These troubleshooting steps should help you resolve most issues with SSDs not showing up. Remember to back up your important data regularly to avoid data loss in case of drive failure.
Key Takeaways
- Check physical connections and BIOS settings first
- Use Windows Disk Management to initialize undetected SSDs
- Update drivers or use partition tools for persistent issues
Understanding SSD Non-Detection Issues
Solid-state drives (SSDs) can sometimes fail to appear in Windows or BIOS due to various hardware and software issues. These problems range from simple connection errors to more complex system configuration problems.
Primary Causes and Initial Checks
SSD detection issues often stem from physical connection problems. Loose SATA or power cables can prevent the drive from being recognized. For NVMe SSDs, improper seating in the M.2 slot may cause similar issues.
Check all connections and ensure the SSD is firmly seated. Try different SATA ports on the motherboard. For laptops, remove and reinsert the drive if possible.
Bad sectors or a failing SSD controller can also lead to non-detection. Use diagnostic tools to check the drive’s health if it’s accessible in another system.
BIOS/UEFI Configuration and SSD Detection
BIOS/UEFI settings play a crucial role in SSD detection. Incorrect storage controller modes can prevent Windows from seeing the drive.
Enable AHCI mode for SATA SSDs in the BIOS. For NVMe drives, ensure NVMe support is activated. Some systems may require updating the BIOS to recognize newer SSD models.
Check the boot order to ensure the SSD is listed. If not, it may indicate a detection problem at the BIOS level.
Windows Disk Management and Storage Set-Up
Windows Disk Management is a key tool for diagnosing SSD issues. An uninitialized or unallocated SSD may not appear in File Explorer but will show in Disk Management.
To access Disk Management:
- Right-click the Start button
- Select “Disk Management”
If the SSD appears as “Unknown” or “Not Initialized,” right-click it and choose “Initialize Disk.” Select the appropriate partition style (MBR or GPT).
For unallocated space, right-click and create a new simple volume. Format it with a compatible file system like NTFS.
Partition and File System Considerations
Proper partitioning and formatting are essential for SSD recognition. Windows may not show drives with incompatible file systems or partition styles.
Choose GPT for drives larger than 2TB or systems using UEFI. MBR works for smaller drives and legacy BIOS systems.
NTFS is the recommended file system for Windows SSDs. It offers better performance and reliability compared to FAT32.
Quick format is usually sufficient for new SSDs. Full format is unnecessary and can reduce the drive’s lifespan.
Driver and Software Solutions
Outdated or corrupt drivers can cause SSD detection issues. Update storage controller and SSD drivers through Device Manager or the manufacturer’s website.
Steps to update drivers:
- Open Device Manager
- Expand “Disk drives” and “Storage controllers”
- Right-click the device and select “Update driver”
Windows Update can also provide necessary driver updates. Third-party software like AOMEI Partition Assistant can help diagnose and resolve complex SSD issues when Windows tools fall short.


