How to Split Your Laptop Screen Into Two: Easy Guide
Boost your productivity by splitting your laptop screen. This feature allows you to view two apps simultaneously without switching windows. With Windows 10 and 11, you can split your screen into two, three, or four parts, making multitasking easier. To split your screen, you have two easy options. You can drag a window to the edge of your screen or use the Windows key and arrow keys.
Once you set it up, you’ll wonder how you worked without it. Whether you’re a student managing research papers and online lectures or a professional juggling multiple projects, splitting your laptop screen into two can significantly enhance your productivity in today’s fast-paced digital world.
Splitting Your Laptop Screen
Built-in Options:
Most modern operating systems offer native ways to divide your screen:
- Windows 10 & 11: Snap Assist lets you effortlessly arrange windows side-by-side. Drag a window to the edge or corner of your screen, and it’ll snap into place, taking up half (or a quarter) of the display. You can also use the keyboard shortcut
Windows key + Left/Right Arrowto snap the active window to one side. - macOS: Split View allows you to have two apps share the screen equally. Click and hold the green “maximize” button on a window, then choose to position it on the left or right side. The other half of the screen will show your other open apps; click one to fill that space.
Third-Party Tools:
For more advanced screen splitting and window management, consider these apps:
| Software | Platform | Features |
|---|---|---|
| PowerToys (FancyZones) | Windows | Create custom window layouts and zones on your screen. |
| Magnet | macOS | Quickly arrange windows with keyboard shortcuts and drag-and-drop. |
| Spectacle | macOS | Another option for keyboard-driven window management on macOS. |
Why Split Your Screen?
- Boost Productivity: View multiple documents or applications simultaneously, reducing the need to switch between them constantly.
- Multitasking Made Easy: Reference information on one side of the screen while working on something else on the other side.
- Compare and Contrast: Easily compare two documents, images, or websites side-by-side.
- Streamline Your Workflow: Tailor your screen layout to match your specific tasks and preferences.
Tips:
- Experiment with different layouts to find what works best for you.
- Use keyboard shortcuts for faster window management.
- Consider external monitors for even more screen real estate.
- Remember, splitting your screen can be a game-changer for productivity and multitasking!
Key Takeaways
- Windows 10 and 11 have built-in split screen features
- You can split your screen by dragging windows or using keyboard shortcuts
- Split screen boosts productivity by letting you view multiple apps at once
Understanding Split Screen Functionality
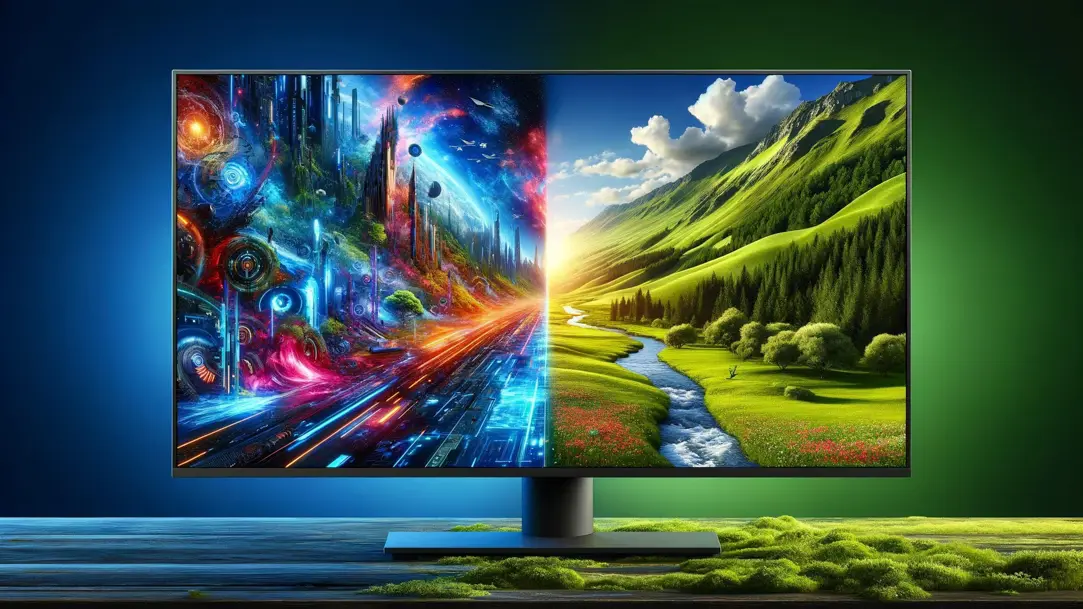
Split screen lets you use multiple apps at once on one display. It’s great for getting more done and seeing things side by side.
Basics of Split Screen
Split screen divides your screen into parts. You can have two, three, or four apps open at the same time. This works on many devices like Windows PCs, Macs, and iPads. To split your screen, you drag app windows to the edges. Or you can use keyboard shortcuts.
On Windows 10 and 11, press the Windows key and an arrow key. This snaps the current window to that side of the screen. On a Mac, click and hold the green button at the top left of a window. Then choose which side you want it on.
Android phones and tablets can split screens too. Just tap the recent apps button and drag an app to the top or bottom of the screen.
Advantages of Using Split Screen
Split screen boosts productivity. You can look at two things at once without switching back and forth. This saves time and helps you work faster.
It’s great for comparing documents or websites. You can see differences easily when they’re side by side. Gamers use split screen to watch a game guide while playing.
Split screen also helps with copying info from one app to another. You can see both the source and destination at the same time. This cuts down on mistakes.
Operating System Specifics
Different systems have their own split screen features. Windows 10 and 11 let you snap windows to corners for a four-way split. They also suggest other open apps to fill empty spaces.
Macs have a feature called Split View. It hides the Dock and menu bar to give you more space. Linux systems vary, but many let you tile windows manually.
iPads got split screen in iOS 9. You can have two apps side by side or use Slide Over for a floating window. Android’s split screen works on most newer phones and tablets.